Online protractor, runs in your browser
Measure angle online: a protractor for any photo
Measure angle online from a photo: take a picture with your phone camera or upload an image, tap the corner and one point on each side, and the angle appears in degrees with a protractor drawn over it. Use it as an online protractor for a drawing, a corner, a diagram or a screenshot. Nothing is uploaded and it costs no solves.
Pick a picture, then tap three points: the corner first, then one point on each side.
Your picture appears here. It stays in your browser.
How to measure an angle from a photo
- Take a photo of the angle, or upload an image or screenshot. Hold the phone directly above the page so the angle is not tilted.
- Tap the corner of the angle. This first dot is the vertex.
- Tap one point along the first side, then one point along the second side. Points farther from the vertex make a small tap error matter less.
- Read the angle under the picture. Drag any dot to adjust it, or press Reflex to read the angle on the other side.
The big number is calculated from your three dots. The ring drawn around the corner is a protractor laid over the picture: its zero is on the first side and its numbers grow toward the second side, so you can also read the angle off it by eye as a cross-check.
Measure angle online camera: how to take the photo
The result depends on the photo. A camera turns a flat page into a picture, and if the phone is tilted, perspective distorts the shape, so a right angle in the room can look clearly different from 90° in the photo. Three habits reduce that error. Put the page flat on a table. Hold the phone directly above it with the screen parallel to the paper. And leave a little margin around the angle so you can set points on the sides, not only at the corner.
If you need to measure a corner on something upright, such as a door frame or a shelf, stand square to it and keep the camera level with the corner. A photo taken from the side can make the angle in the picture differ from the real one, whatever tool reads it.
Measure angle with phone: tap, drag, read
On a phone the buttons at the top do the work. Tap Take a photo of the angle; most phone browsers then offer the camera, and a computer shows a file picker. After the photo loads, tap the corner of the angle with your fingertip. A white dot with a dark ring appears. Tap one point on each side. Fingers cover what they touch, so tap a little away from the line and then drag the dot until its centre sits on it. Each dot is a handle, and the number updates while you drag.
If you make a slip, Undo last dot removes the newest dot and Start over clears all three. The picture is scaled to fit your screen, which does not change the angle, because an angle is the same at any zoom.
Online protractor: what the overlay shows
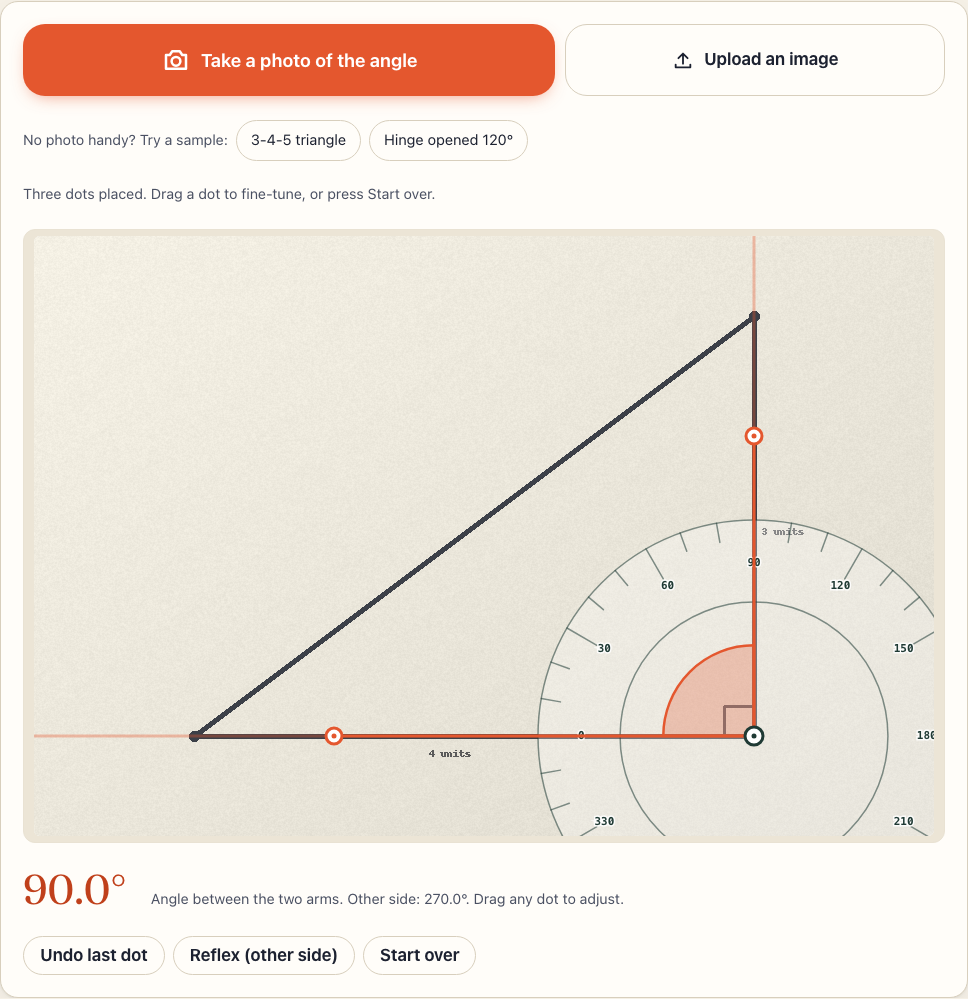
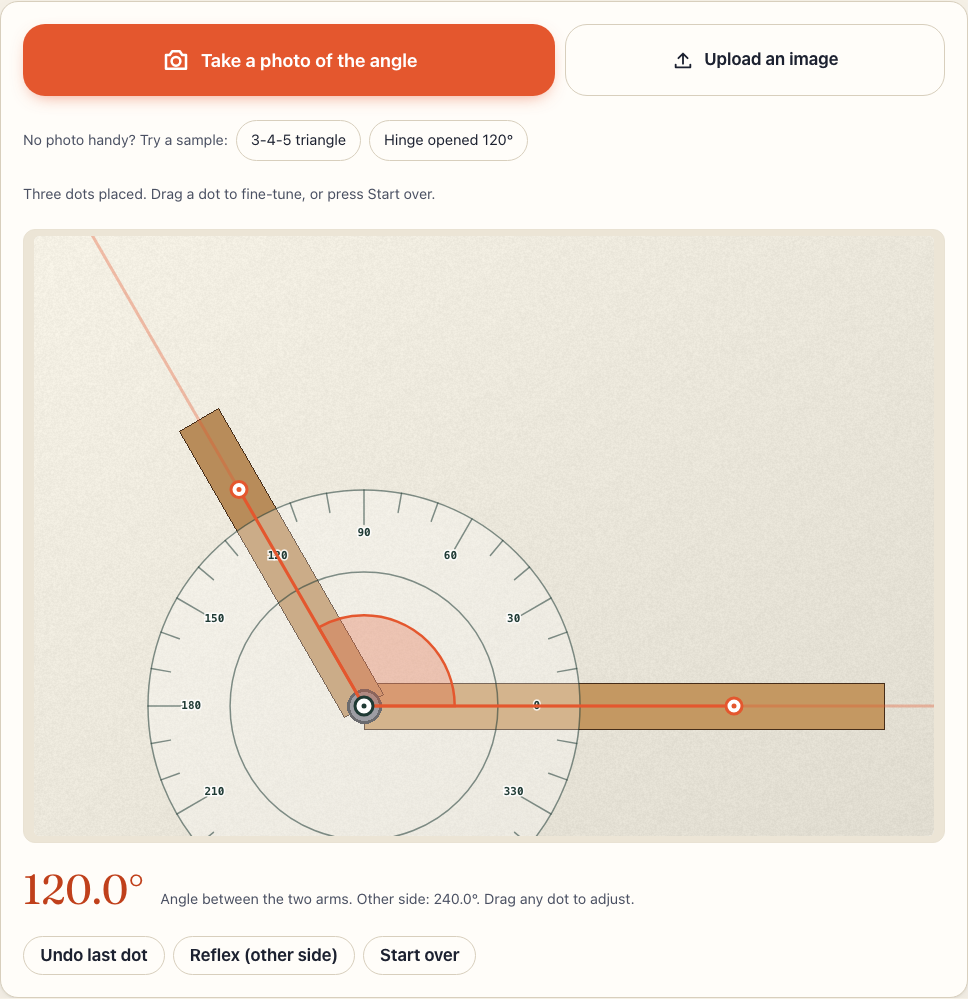
A plastic protractor is a half circle with a scale and a centre mark that you line up with the corner. This online protractor does the lining up for you: the circle is centred on your first dot, zero sits on the first side, and the scale runs round the full turn in steps of 10°, with a label every 30°. The orange wedge fills the angle between the two sides, so you can see which of the two possible angles is being measured.
The two sides you mark start at the same corner, and they split the full turn around it into two angles that add up to 360°. The tool reports the smaller one, between 0° and 180°, and shows the other value beneath it. Press Reflex to switch the large number to the larger angle, which is useful for a bearing or for a corner that opens the long way round.
On screen angle measurement: screenshots and diagrams
Not every angle is in the real world. If a worksheet is a PDF, or a diagram sits on your screen, take a screenshot, then press Upload an image and choose it. This kind of on screen angle measurement works exactly like a photo, and it avoids the perspective distortion a camera adds. Zoom the diagram in before you capture it so that the lines are thick enough to tap.
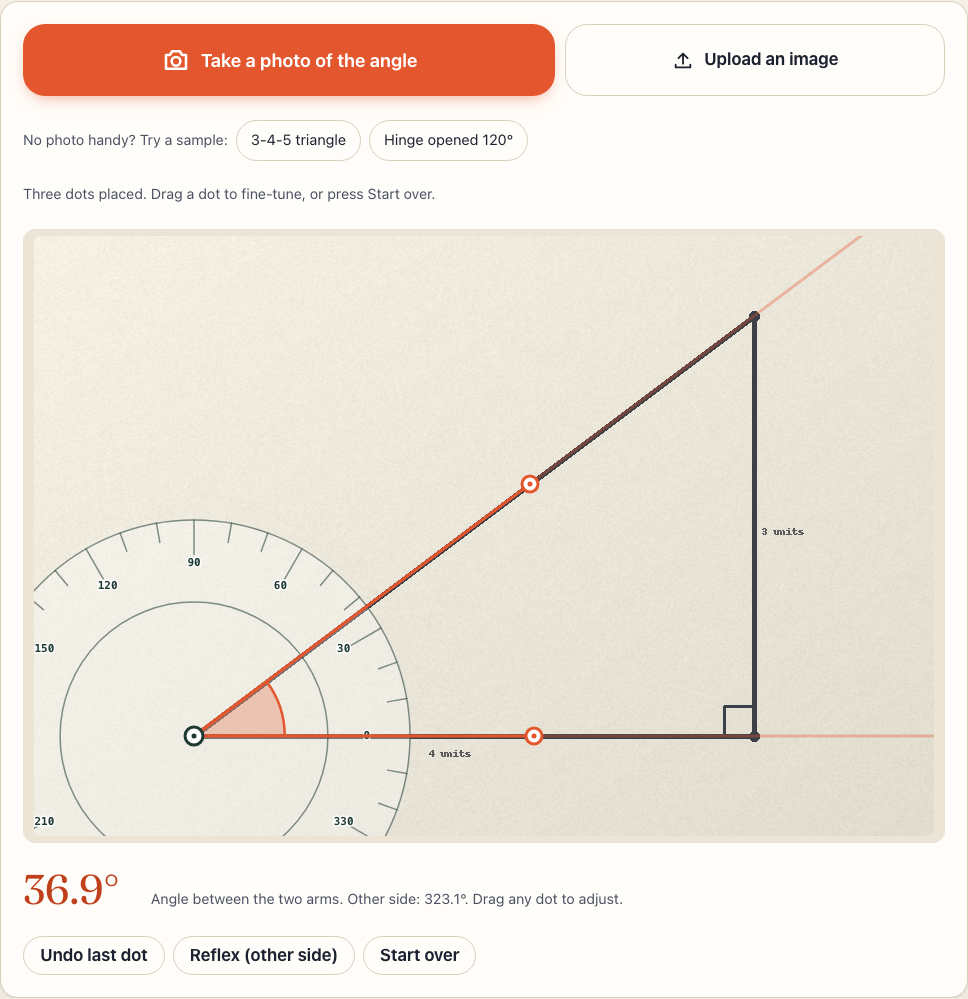
A sample on this page shows the method. The 3-4-5 triangle is drawn so that the two shorter sides are three and four units and the longest is five. Its corner angles are therefore 90°, about 36.9° and about 53.1°, and the tool should read those numbers when the dots sit on the corners. Try it and compare: that is the quickest way to judge how steady your taps are.
How the angle is calculated
Each side becomes an arrow that starts at the corner. If the corner is at (0, 0) and the side points are at (1, 0) and (0, 1), the two arrows point right and up, and the angle between them is 90°. If the side points are (1, 0) and (1, 1), the second arrow points up and to the right, and the angle is 45°. The tool uses the two-argument arctangent of the two arrows, atan2(|cross product|, dot product), which handles angles past 90° and stays reliable near 0° and 180°, where the cosine formula loses precision. The calculation is exact for the three points you set.
To check a photo, include a sheet of paper and measure one or two of its corners. If a corner reads clearly away from 90°, first check that you tapped the corner and points on its two edges; if the points are right, the photo may be tilted, so retake it from straight above with the camera parallel to the page. A reading near 90° is a good sign but not proof: some tilts leave a right angle looking right while other angles in the same picture change, so holding the phone parallel to the page matters more than any single check. A triangle's angles always add up to 180° even in a distorted photo, so that sum is not a check on the photo.
Limits worth knowing
- Wide-angle phone lenses can bend straight lines near the edges of the picture. Keep the angle near the middle of the frame.
- Curved surfaces, such as the opening of a bowl, do not have a single flat angle to read.
- This is a study and craft tool, not a surveying instrument. For a cut that has to fit, measure with a proper bevel gauge as well.
Need the answer to a geometry question instead?
Sometimes you do not need to measure at all, because the angle can be worked out. In a triangle with angles of 50° and 60°, the third angle is 180° − 50° − 60° = 70°. For problems like that, take a photo of the question on the geometry solver, which writes out the rule behind each step, or use scan math for any printed or handwritten problem. The first three step-by-step solutions each day are free; measuring on this page never uses one.
Solve a geometry problem from a photoSee how the steps are written
FAQ
Is this online protractor free?
Yes. It runs in your browser, needs no account and never uses one of the free step-by-step solves, because nothing is sent to our servers.
Is my photo uploaded anywhere?
No. The picture is opened by your browser and drawn on a canvas on this page. The angle is calculated on your device, and the photo is gone when you close or reload the tab.
How reliable is the reading?
The calculation is exact for the three points you place, so the result depends on the photo and on where you tap. Shoot straight on, with the camera parallel to the surface; a tilted photo can make the angle in the image differ from the real angle.
Can I measure an angle with my phone camera?
Yes. On most phone browsers the camera button asks to open the camera; if yours shows a file picker instead, choose the camera option there or upload a photo you already took. The photo goes straight into the tool. Take it from directly above the angle, then tap the three points with your finger.
Can it measure an angle in a screenshot or textbook diagram?
Yes. Take or save a picture of the diagram and upload it. The tool works on any image, so it also suits scanned worksheets and angles drawn on a screen.
What if I only need the answer to a geometry question?
Then you do not need to measure. Take a photo of the question on the geometry solver page and it writes out the steps with the rule for each one.